How to make cool stuff in Unity

Tutorial 1: The Basics

This tutorial was made by Bronson Zgeb and G.P. Lackey of KO-OP

Intro

This tutorial is about empowering people who feel constrained by their lack of experience. For example, programmers who feel like they need artists to make cool things, or artists who think they need programmers to make cool things, or even people who are neither of those who want to make cool things.

The tutorial is written for folks who have no experience with Unity or 3D modelling. If you're already familiar with the basics jump down to the lighting section. Our next tutorial will focus on lighting and particles in more depth.

Help us spread the word about this tutorial

Starting Out

Step 1.

  • Create a new Unity project

    Things to note: pay attention to where you're saving this project. A unity project is just a folder with a bunch of things in it (it's not some proprietary file like Gamemaker or Construct)

  • Try changing the layout, we don't really like the default Unity view. Go to Window > Layouts

  • In your Unity project, under the Project pane, make a new folder titled "Models"

Sketchup

Step 2.

  • Download & install Sketchup
  • Open up Sketchup and click the template dropdown, choose simple template: meters from the list

  • Select the rectangle tool. Make a plane (a plane is another word for rectangle) in Sketchup

  • (you can type in numbers for more exact sizes when using the rectangle tool)

  • Now export your plane into Unity (we'll be back to sketchup soon)

    When exporting, go File > Export > 3D Model. Make sure the format is either .FBX or .DAE

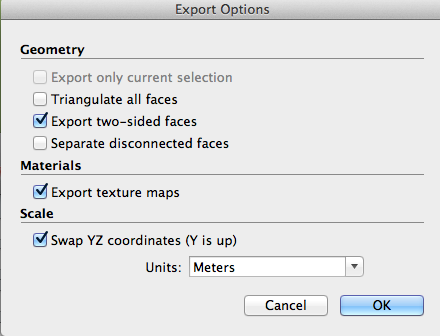
  • Options should look like this before exporting:

  • Export your model into the Unity project's Assets folder, into the "Models" folder that you created

  • Now your exported model should appear in the Unity project pane.

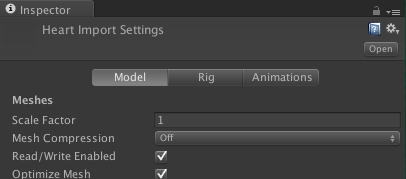
  • Select the model file and make sure the scale factor is set to "1". Note: if you're using .DAE your scale factor should be set to .025

  • Select the model, and drag it into the hierarchy pane. It should now appear in the scene view in Unity

  • Tip: you can select the model in the hierarchy view, then go to > Edit > Frame Selected (F). This lets you find objects in the scene view.

Step 3.

  • Back to Sketchup to familiarize yourself with some tools

  • Navigation:

    Navigation between Sketchup and Unity are totally different unfortunately. Thankfully the following tools make it a bit easier to move around in Sketchup. You should familiarize yourself with them.

    Tip: a 3 button mouse is a huge help. Middle mouse orbits, scrolling zooms in and out. Using Shift+ Middle Button activates the hand tool.

  • Tools:

    Pen tool: lets you draw arbitrary lines that snap to edges. You can draw on walls (this is how you can make windows or doors)

    Arc tool: the 2 point arc tool lets you draw curves, which is great for making rounded corners

    Shape tool: makes cool shapes. This is how you made a plane earlier

    Push Pull: grab a face, and then push or pull it. This is also good for cutting out things

    Offset tool: It is cool, mess around with it

  • Move tool: lets you move an individual face or a bunch of stuff at once. Hold alt to duplicate and move an object

    Rotation tool: Same as move tool but for rotations

    Scale tool: scales the size of your models

Step 4.

  • Now you want to re-export your model and overwrite your previous file that you exported to Unity.

    THIS IS REALLY IMPORTANT: you want to overwrite your previous file because it'll autoupdate in Unity allowing you to jump between the two programs, mess around, and see your changes reflected right away.

FPS/Drifter

Step 5.

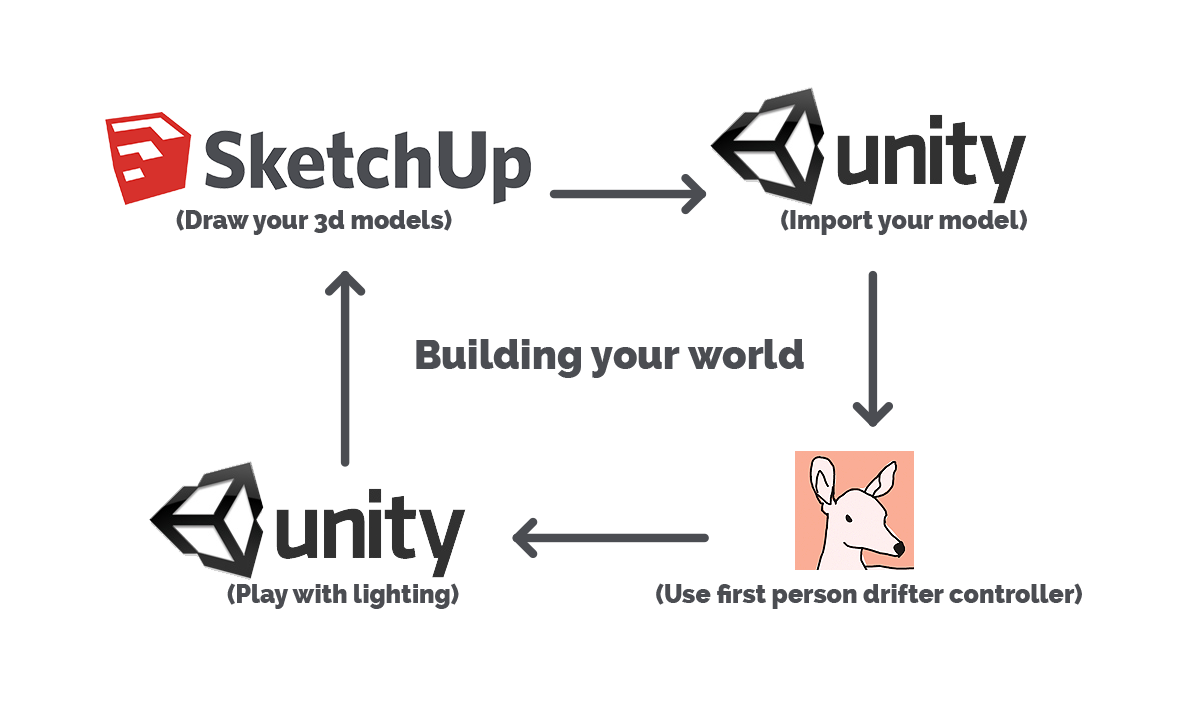
  • You'll want to download and import Ben Esposito's Drifter plugin. Drifter is fantastic because it allows you to have a versatile first person control scheme that is much better than Unity's defaults. Get it here: Drifter

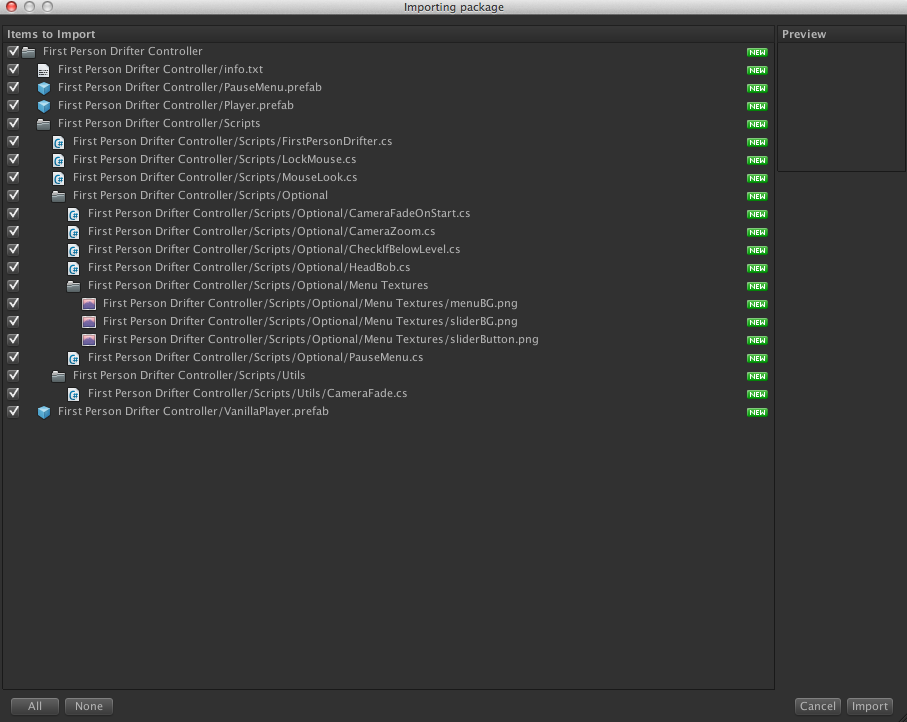
  • Double click on the Unity package you downloaded, then click import on the pop-up in unity (make sure everything has a checkmark)

  • In Unity: select your main camera in the hierarchy pane and delete it.

  • In the project pane find the First Person Drifter Controller, select the player object, and drag it into your hierarchy.

  • If you try playing the game now, your character should be in the gameworld, but they will fall through any models because there are no collisions setup.

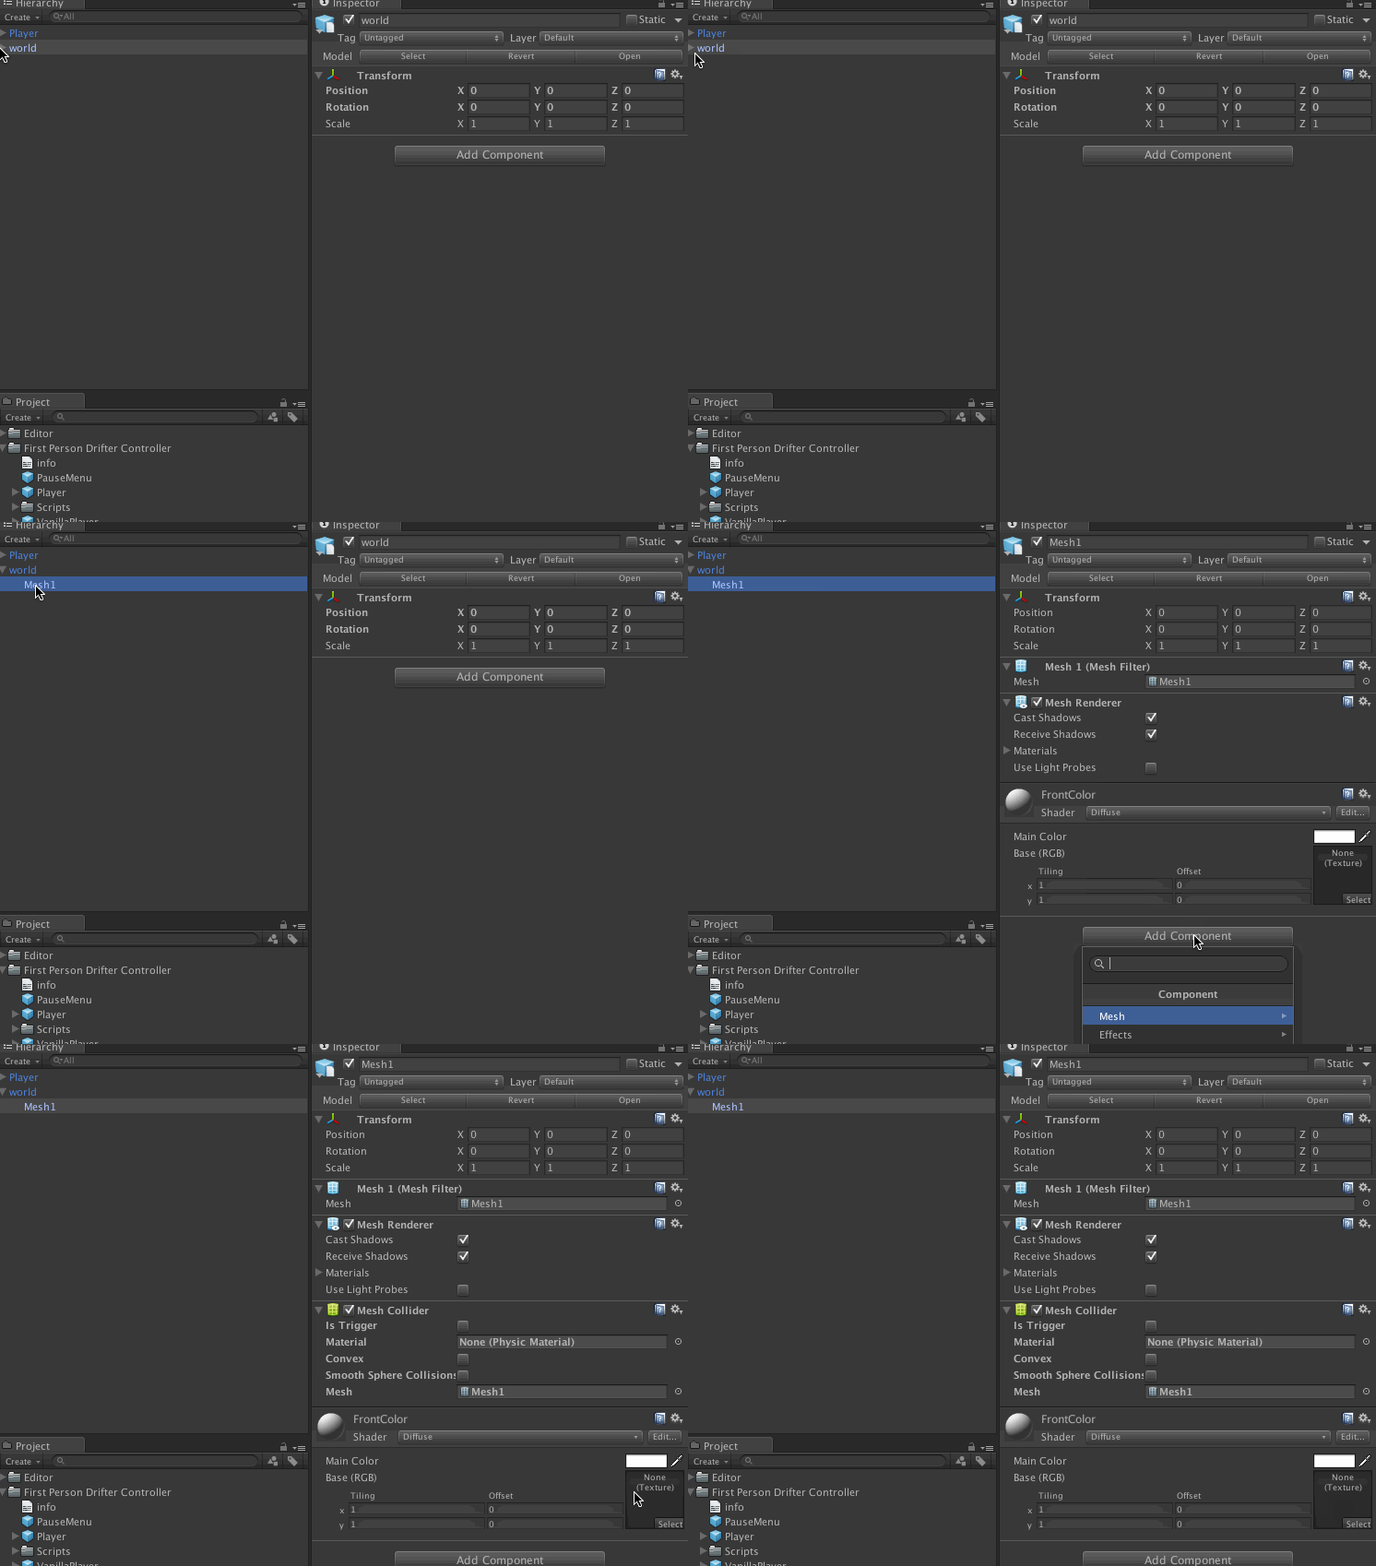
  • Select your game object called Mesh (the gameworld you're building in Sketchup) in the hierarchy. Depending on what you made in sketchup you might have a bunch of meshes. You'll want to select all the Meshes you have and add a Mesh Collider.

  • Now press play and walk around your world! It'll be super dark because we haven't put any lights in the scene yet.

  • Add a light by clicking "create" in the Hierarchy pane and choose Directional Light. Things should be a bit more visible now. We'll return to lighting later.

  • Select your player component in the Hierarchy and check out what values you can mess around with.

  • Now that you can run around in your level, you might want to jump back to Sketchup and make changes and start building your world.

Mess around with Drifter's defaults to make different feeling movements

Maybe try colouring your world in Sketchup [this video has a lot of flailing around]

Lighting (or how to make it look cool)

First start off by watch a few minutes of this video

Step 6.

  • A quick overview on lights in Unity

  • Directional Lights: These simulate the sun, and light everything from a given direction regardless of walls and stuff.

  • Spotlights: A cone of light that works like a spotlight

  • Point Lights: A point of light that starts from the center and emits outwards. Good for indoor lighting like lamps or torches

  • Mess around with the direction and orientation of the directional light.

  • You want to mess around with these lights and make them look good. For example, changing the default colours on the lights.

Step 7.

  • Select the Main Camera (which is contained under the Player your Hierarchy) and change the background colour to something cool. This will change the ugly grey colour that's defaulted for the sky.

  • Go to Edit > Render Settings in Unity and turn on fog. Set its color to something and then add some density.

  • Change the ambient light to something different and tweak its intensity

Tip: set the ambient light to 100% and color each face of your world in sketchup for a cool aesthetic.

Resources

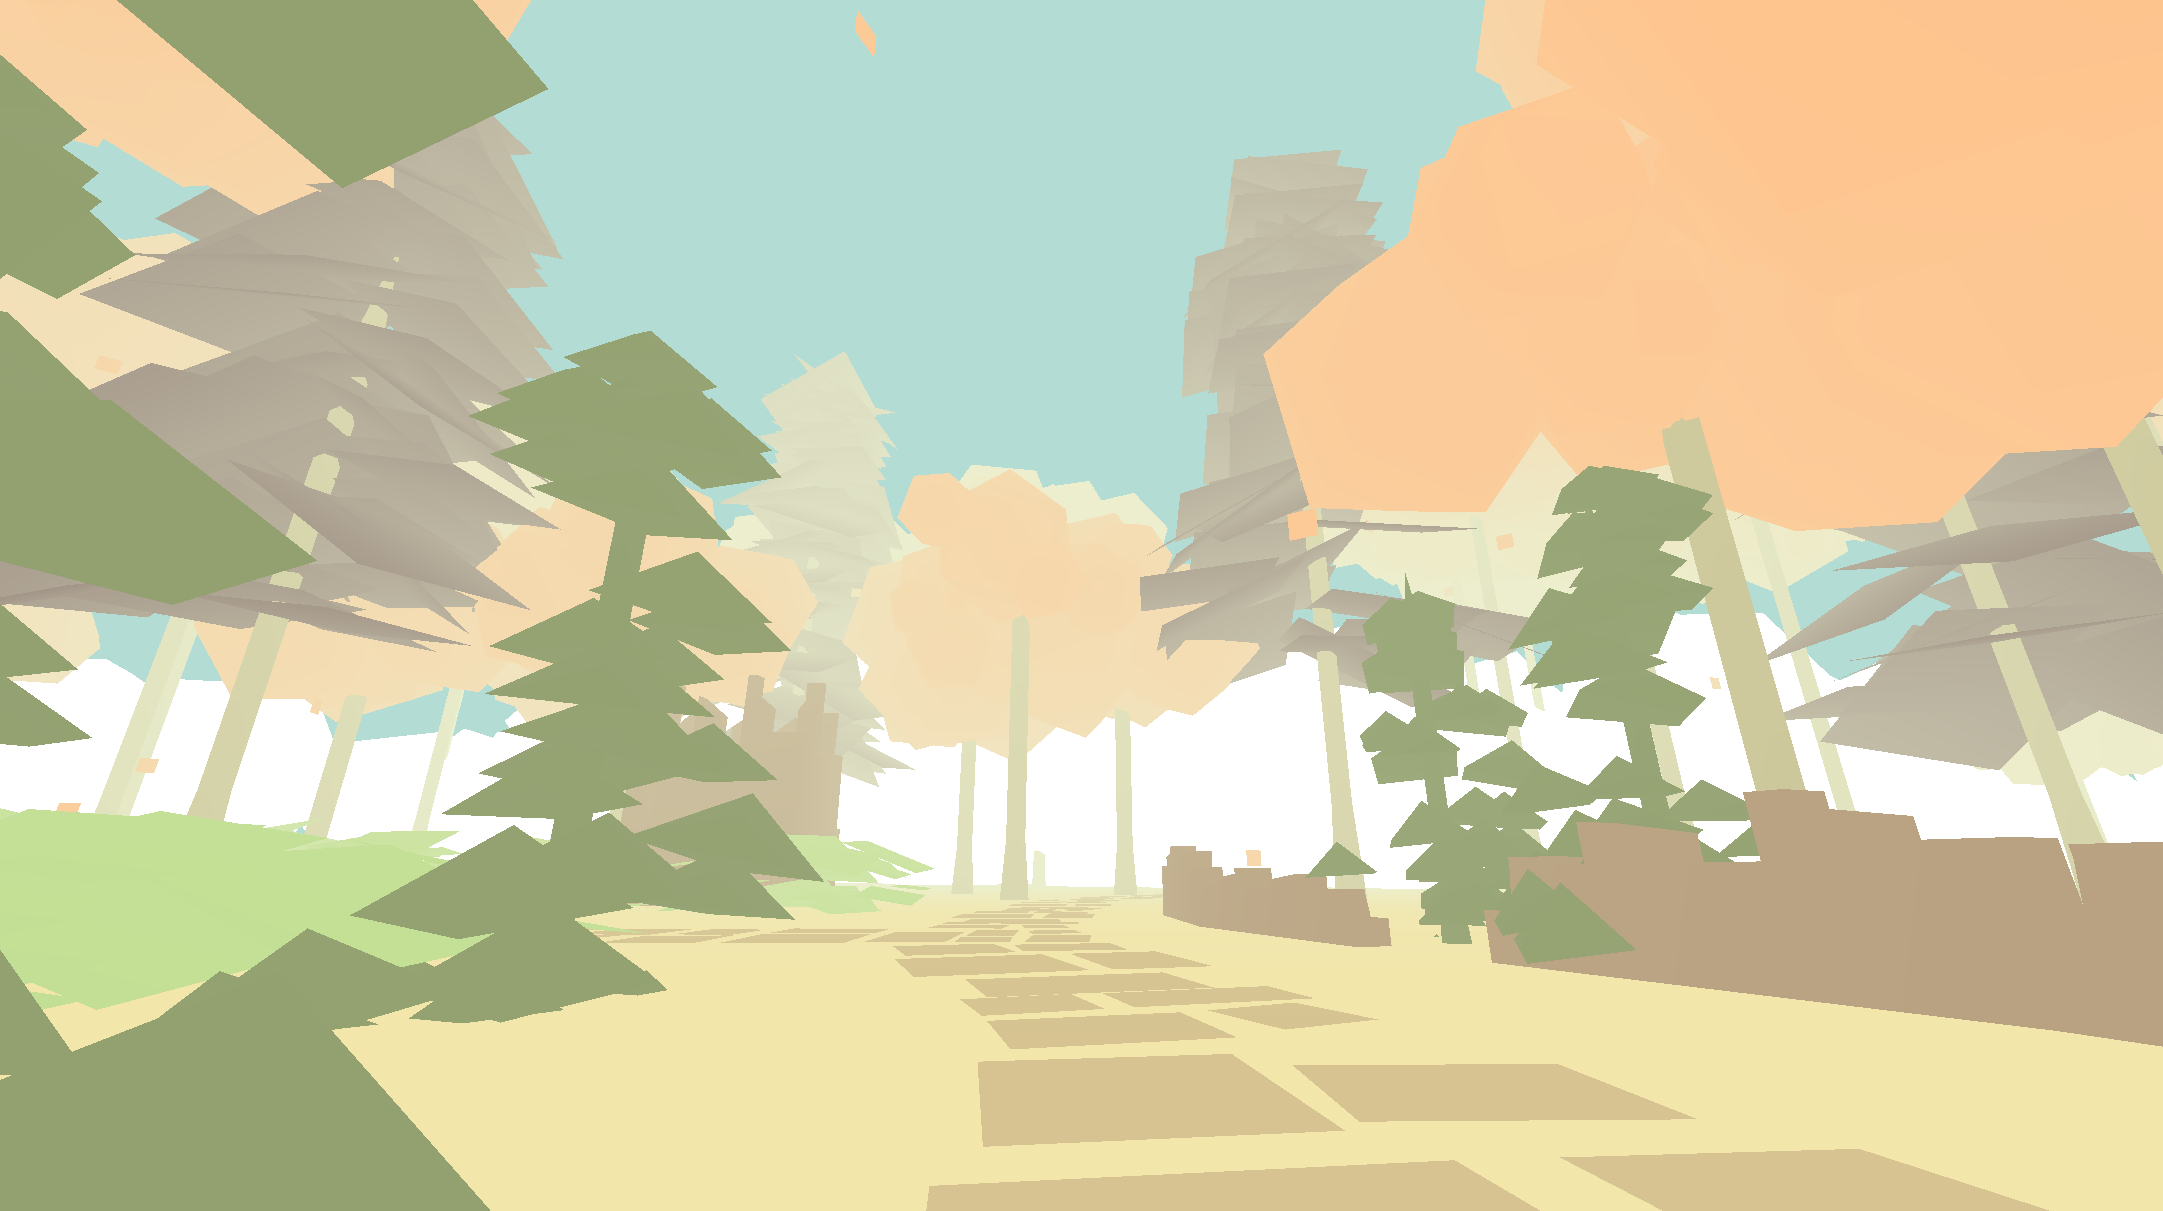
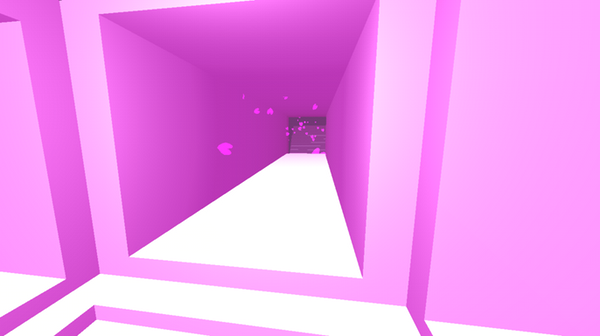
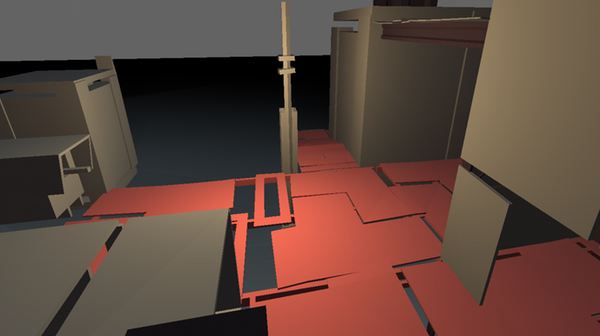
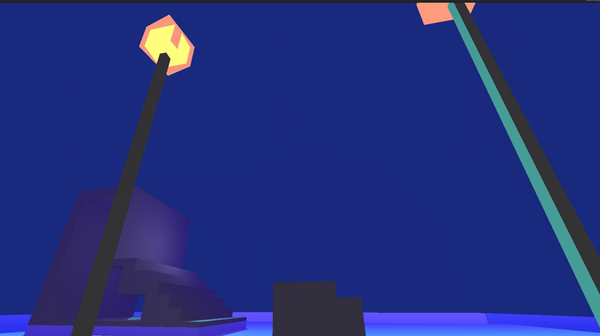
You can download some of our Unity Projects to get an idea for how we made a few things

Hearts and Flood

Flat Forest

We use a few scripts and shaders in those scenes that you can download here: Common Unity Assets.

We'll be explaining in more depth what some of those assets do in the future, but feel free to try applying scripts and shaders to your game to see what happens.

Part 2

Coming Soon. Featuring Particles & more lighting techniques.

Questions or Feedback? Send us an email

If you found this tutorial useful, help us spread the word about it:

Follow us to find out when the next tutorial goes live

This tutorial was made by Bronson Zgeb and G.P. Lackey of KO-OP